This is the only way I roast a whole turkey – dry brined with a seasoned salt. The flesh is juicy, the skin is golden, it’s simple, practical and foolproof. You can even start it while the turkey is still frozen – it brines as it thaws. Forget buckets of liquid brine!
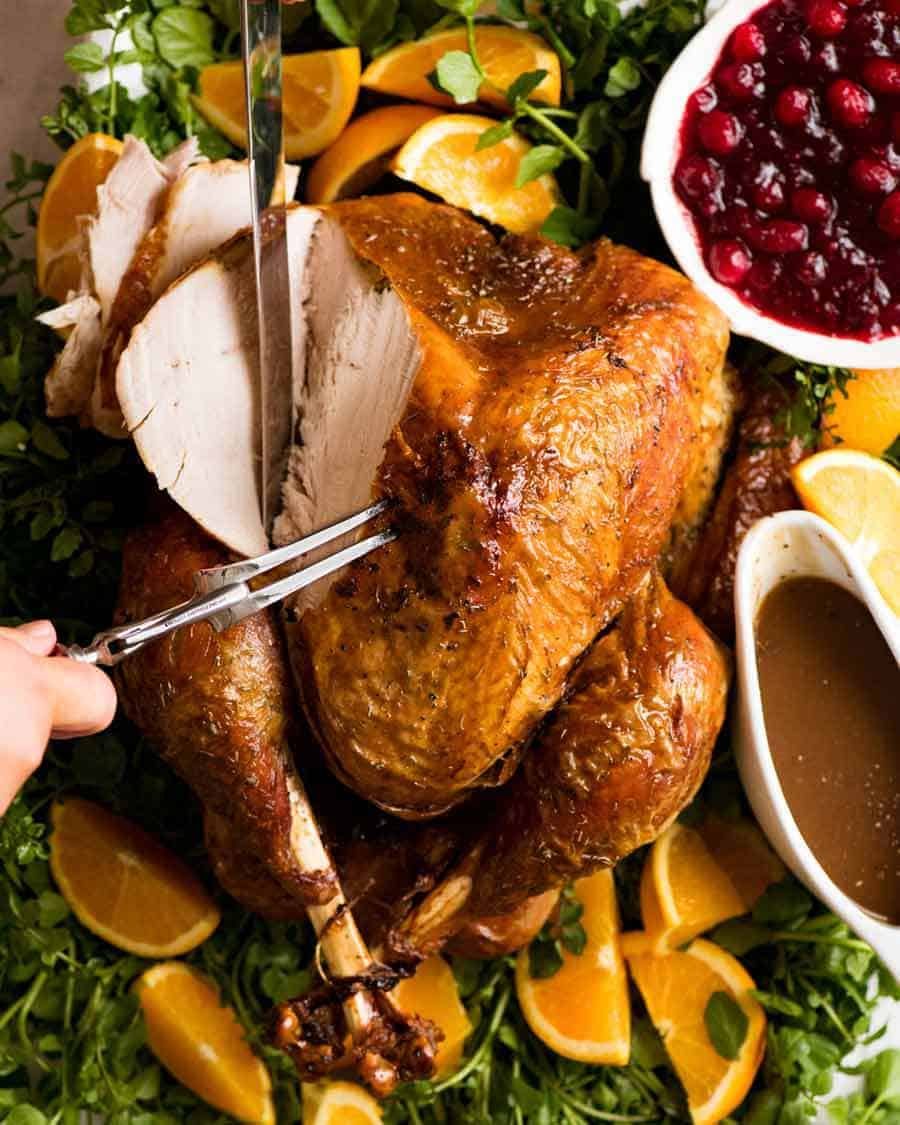
2024 Roast Turkey timetable
Sunday 24 November – Thaw: Place frozen turkey in fridge to start thawing.
Tuesday 26 November – Rub: Apply the rub in the morning (or evening, if you’re doing Thanksgiving dinner). Don’t worry if the turkey is still partially frozen inside, it will brine/finish thawing at the same time. Brine 48 hours.
Wednesday 27 November – Flip turkey.
Thursday 28 November (🍁Thanksgiving🍁) – Roast and enjoy!
What you need to know
10 years ago, dry brining was still relatively unknown but these days it’s a pretty broadly known fact that dry brining yields superior results to wet brining as well as being far more practical.
Because I want to arm you with everything you need to make the ultimate perfect roast turkey, this is a fairly long post, covering off on (hopefully!) all your questions. So starting off with a summary:
Summary:
Brining is the path to moist turkey flesh
Dry brining is far more practical and easier than wet brining (ie buckets of salty liquid)
It’s superior in flavour because the flesh doesn’t get bloated with water
Partially thawed turkey can be dry brined – handy!
Brine time:
1 day (bare minimum, emergency situation. Much better than not brining)
2 days (ideal)
3 days – meat is a little more salted
4 days (extra day adds nothing and I worry about food safety)
Works with turkey breast (2 days)
Start turkey roast upside down for extra juicy breast
Roast turkey cook time 12 minutes per 500g / 1 lb (brined turkey cooks faster)
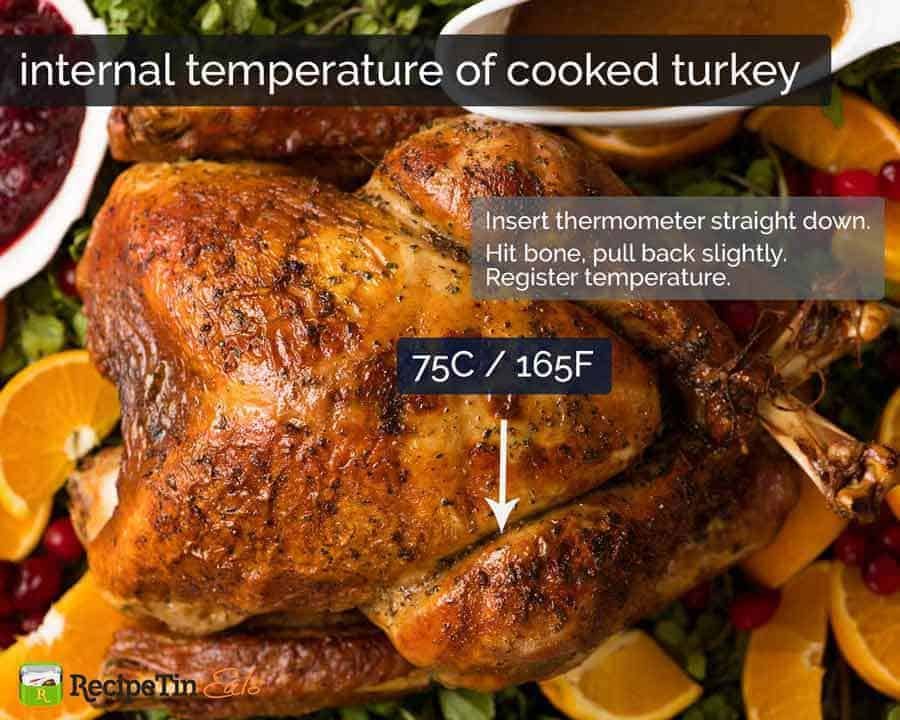
Cooked internal temperature – 75°C / 165°F using a meat thermometer inserted between leg and thigh
Served with turkey gravy or Cranberry Sauce
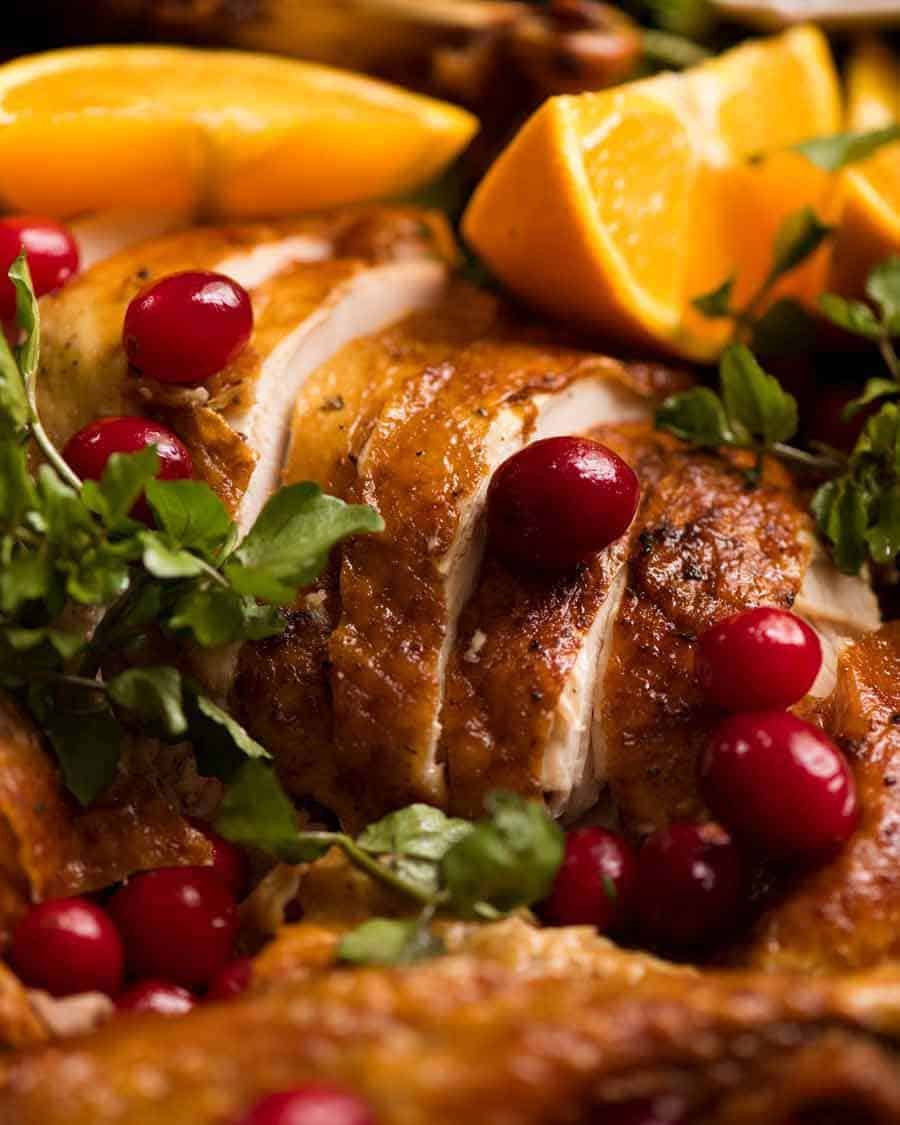
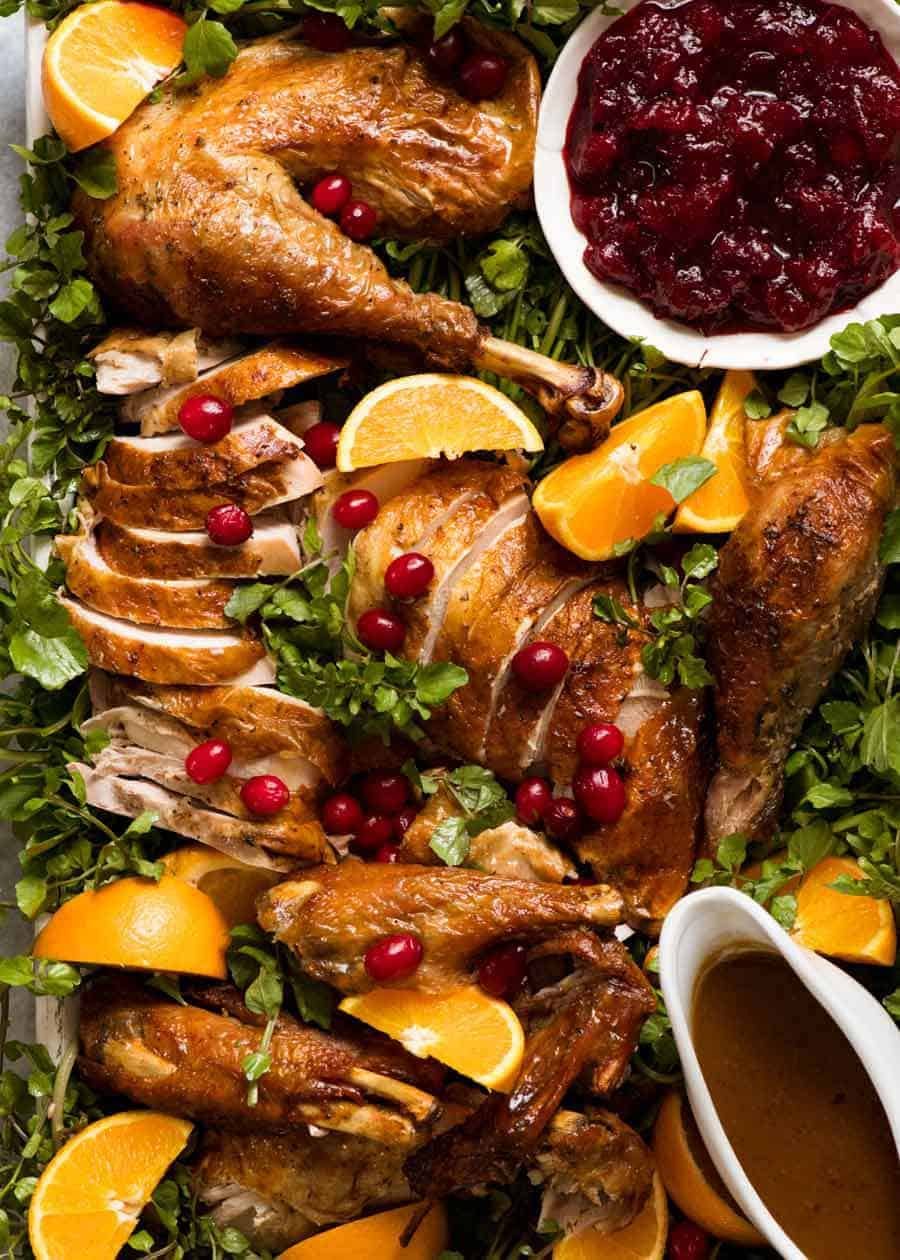
Juicy Roast Turkey Guide!
This is a long post, to arm those who are new to roasting turkey with all the information they need. For the experienced, you can skip straight to the recipe or the section you are interested in!
- What you Need To Know
- Brining is the path to JUICY Roast Turkey!
- Why Dry Brining is best
- Thawing times & methods
- Cook times
- Internal temperature of cooked turkey (and how to do it)
- How to make dry brined Juicy Roast Turkey
- How I Style the Turkey Platter
- How to Carve Turkey
- To Stuff or Not to Stuff?
- Cranberry Sauce or Gravy?
- Jump to Recipe
Brining = JUICY Roast Turkey
I think we can all agree that there is nothing more devastating than labouring for hours over the Thanksgiving or Christmas table centrepiece only to find that it’s dry – especially the breast meat. Even drowning it in gravy can’t completely compensate.
And in this day and age, there’s pretty much full consensus amongst all the greatest food authorities of the world that brining is the path to Juicy Roast Turkey. It doesn’t matter how much butter you use, whether you roast upside down, spin it around, baste 50 times – if you don’t brine, your turkey won’t be as moist.
Full stop. End of story!!
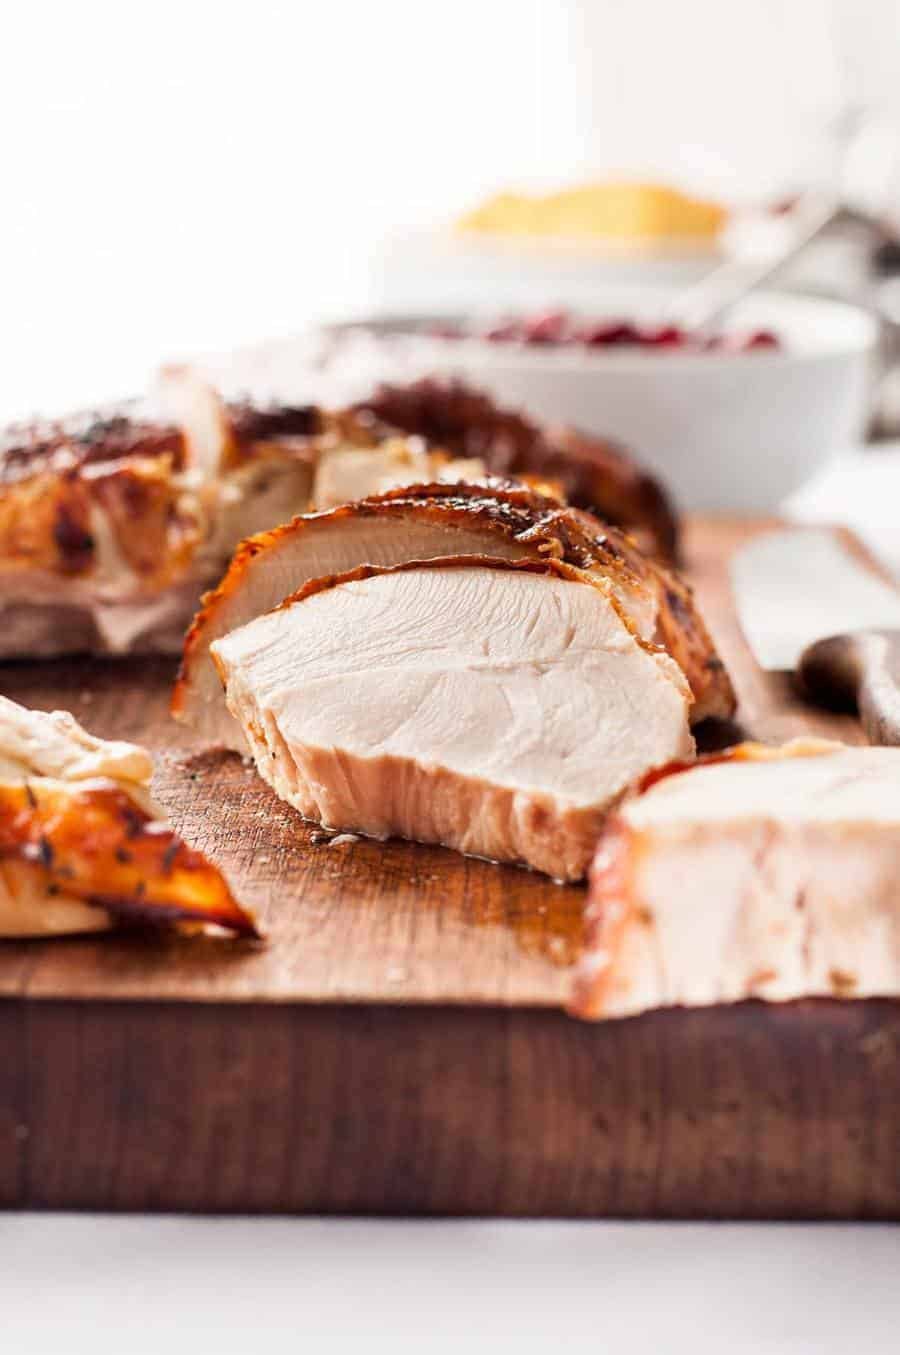
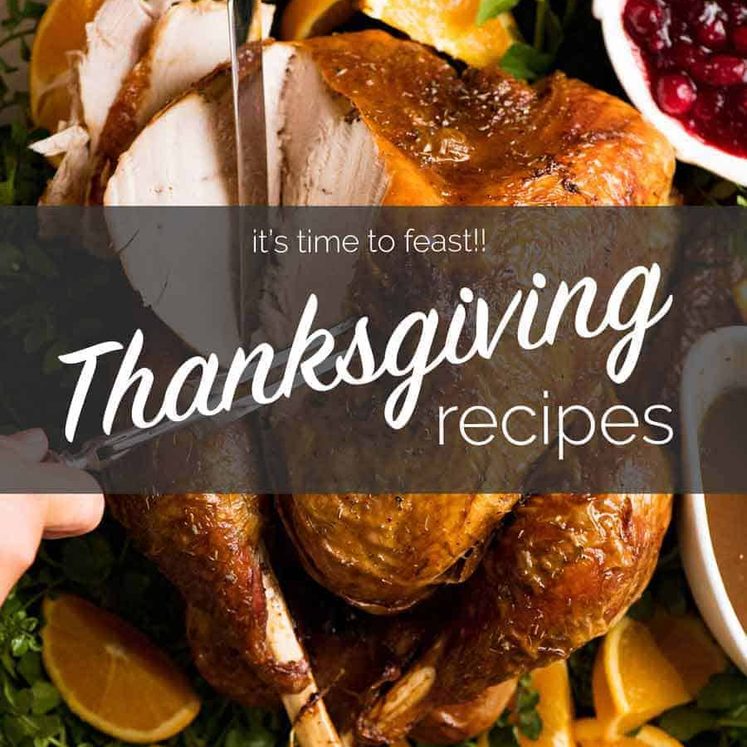
Take a close look at the turkey slice below – look how juicy it is!!!
What is brining?
Brining is the method whereby meat (turkey, in this case) is soaked in a salty water mixed with aromatics like bay leaves, peppercorns and garlic for a couple of days. This has the effect of trapping moisture in the flesh while it roasts, yielding super juicy turkey.
The method of soaking turkey in a giant bucket of salty water is called wet brining. Dry brining has the same effect, but is done by rubbing the turkey with a seasoned salt then left to “marinate” for a couple of days before roasting.
Dry brining is easier, more effective and tastier than wet brining!
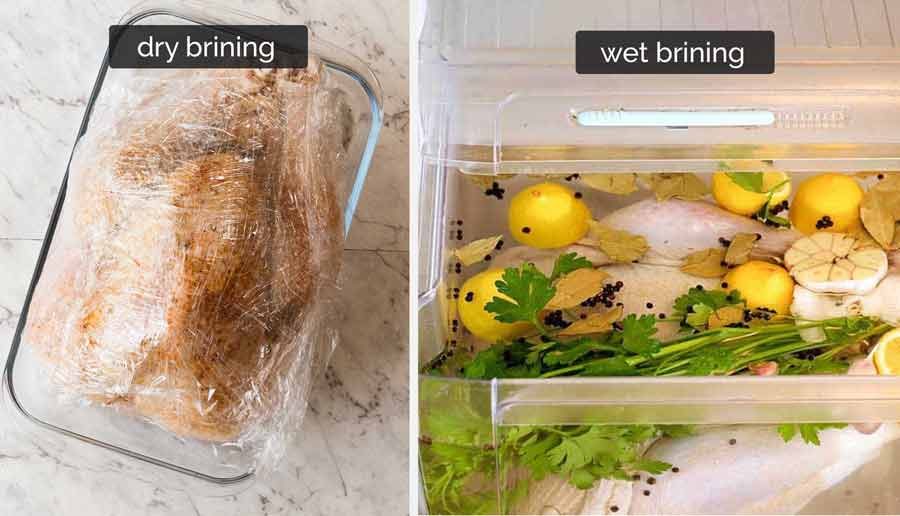
Why dry brining is best
Wet Brining is more well known than Dry Brining. While both methods will yield a juicy roast turkey, there are a number of very important advantages of dry brining:
1. No mopping – I guarantee if you’re manhandling a bucket large enough for a 6 kg / 12 lb turkey AND bringing solution, there will be mopping involved at some stage…. Not to mention the question of whether your fridge has space for said bucket!! (Note: If you’re determined to wet brine, use your vegetable crisper! Genius idea from TheKitchn.)
2. The turkey tastes like turkey. Not water. One of the grievances of wet brining is that while the turkey is moist, the moisture tastes bland – not like turkey. Which makes sense, right? The turkey sucks in the brine and unless it is heavily flavoured with broth, the turkey is sucking in largely flavourless liquid. Whereas with dry brining, the turkey releases its own juices then sucks its own juices back in. Turkey on turkey flavour!
3. The roasting juices aren’t too salty to use for gravy. Another problem many people have with wet brined turkey is that the roasting juices can be too salty to use for gravy. You can compensate by plonking in raw potatoes into the gravy to suck out the salt, but….it’s just one more thing you can avoid by using dry brining!
4. You can start brining while the turkey is still partially frozen. It takes 3 days – yes, 3 WHOLE days – to defrost a 10 pound / 5kg turkey in the fridge. Whereas with this recipe I’m sharing, I accelerate the partial defrosting of the turkey in cold water then it finishes defrosting WHILE it is brining.
5. It roasts faster. It takes 1 hour 45 minutes to roast a 5.5 kg / 10 lb turkey. Compared to 2 1/2 hours for un-brined turkey.
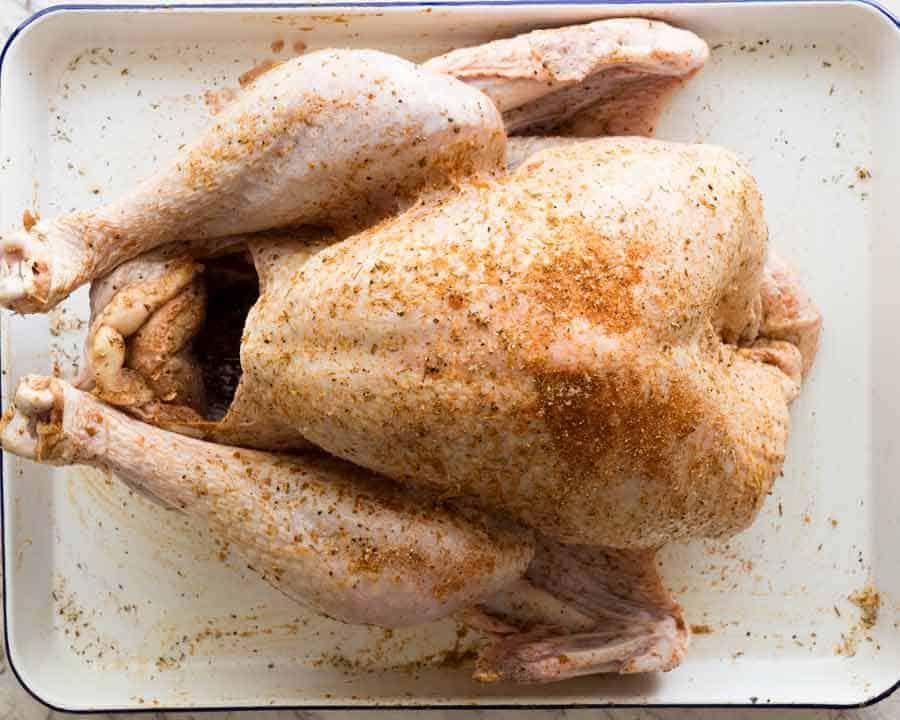
Before we roast, we brine. And before we brine, we must thaw!
Turkey THAWING
A frozen turkey is a formidable block of ice that takes days to thaw. So you must factor this into your turkey-feasting timeline!
Thaw in fridge (long thaw) – allow 24 hours for every 1.5 – 2 kg / 3 – 4 lb of turkey (my 5.5 kg/11 lb turkey took 3 days)
Fast thaw in water – 30 minutes per 500g / 1 lb. Turkey needs to be in a leak proof bag / wrapping. Submerge in large sink of water, keep it submerged. Change water every 30 minutes.
Partially frozen turkey can be brined!
DRY BRINE CAN BE APPLIED WITH PARTIALLY THAWED TURKEY. You just need the turkey skin to be thawed enough to rub the salt in. Then brining + thawing will occur at the same time.
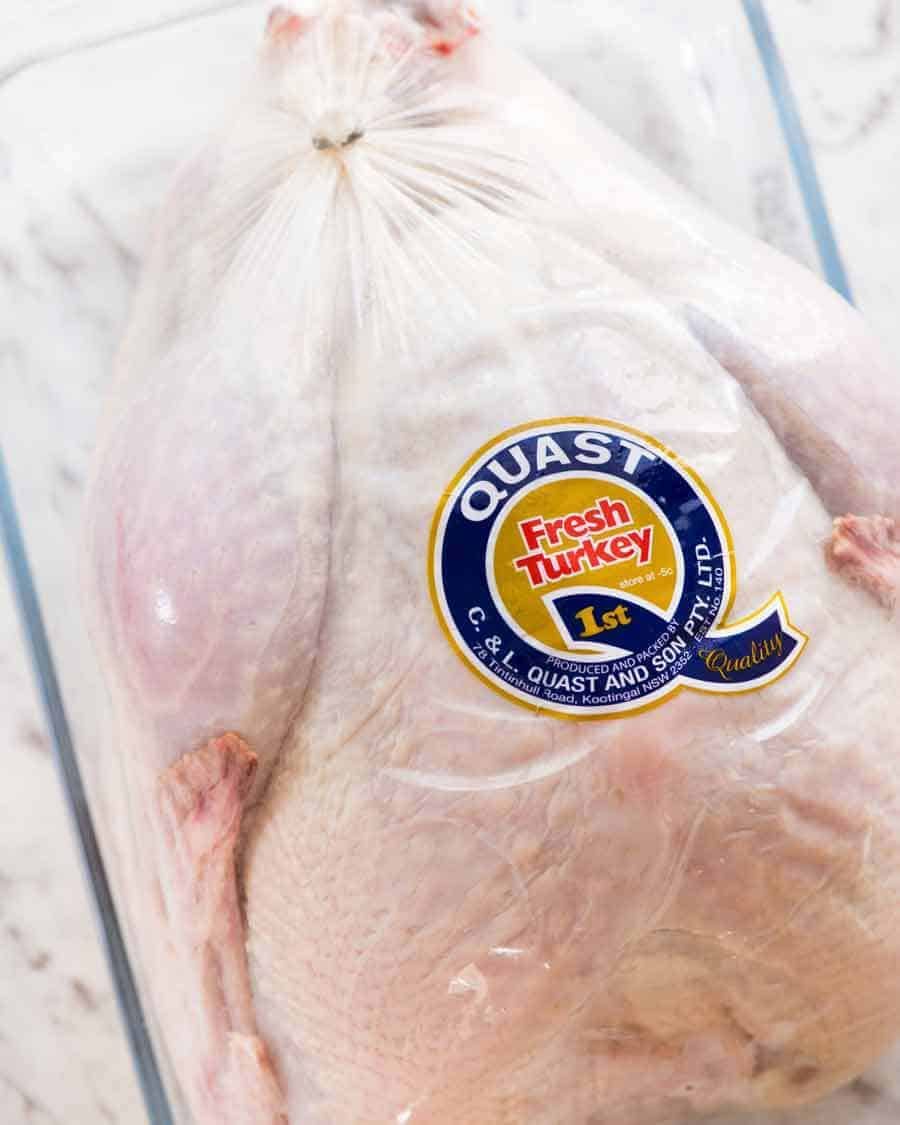
Cook times for turkey in the oven
How long to cook turkey in the oven:
- 5kg / 10 lb: 1 hr 45 min – 2 hrs
- 6 kg / 12 lb: 2 hrs 15 min
- 7kg / 14 lb: 2 hrs 30 min
- 8 kg / 16 lb: 2 hrs 45min
These are the cook times for a dry brined turkey (loosely stuffed with herbs and garlic) which cooks faster than un-brined turkey. Add an extra 15 – 20 minutes if your turkey is stuffed.
This is the total roasting time, including initial 30 minutes at high temperature. It works out at around 12 minutes per 500g / 1 lb.
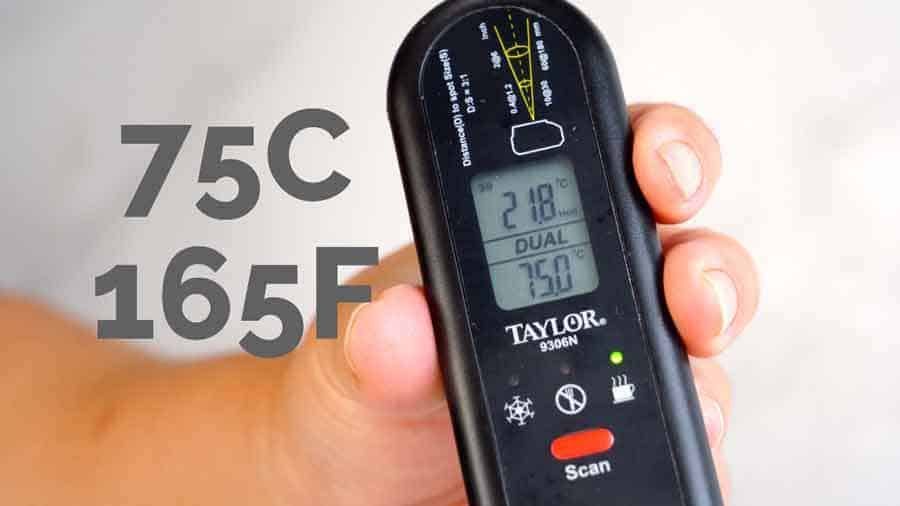
Internal temperature of cooked turkey
75C / 165F using a meat thermometer inserted between the leg and the breast (see photo below for point to insert). This is the USDA recommended internal cooked temperature of turkey.
How to take the internal temperature?
Take the temperature of the turkey straight out of the oven. Insert the thermometer between the leg and the breast. Insert straight down until you hit bone, then pull back a bit. Hold still until the temperature registers on your thermometer and stays at the internal temperatures specified above.
How to make juicy roast turkey
I promised you easy, and easy you shall have! Here’s a rundown on the recipe:
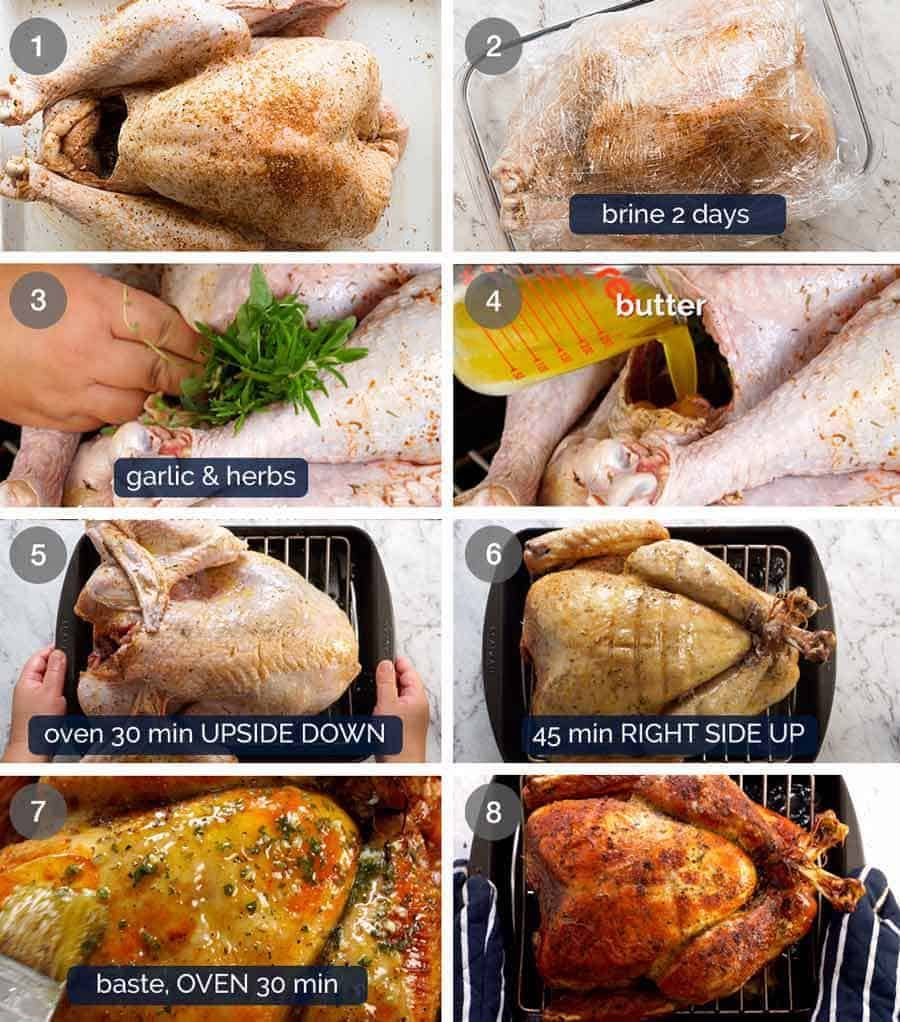
Rub with a simple seasoned salt mixture – salt, thyme, paprika, garlic powder and pepper;
Wrap like a mummy in cling wrap (holds in all those juices!) and refrigerate for 2 days;
Stuff with herbs, garlic and pour in a good slosh of butter;
Slather with butter then roast upside down for 30 minutes (get those juices pooling in the breast);
Roast right side up for 45 minutes;
Baste with Garlic Herb Butter then roast for a further 30 minutes. (I do this at this stage to avoid burnt garlic-herb bits on the turkey)
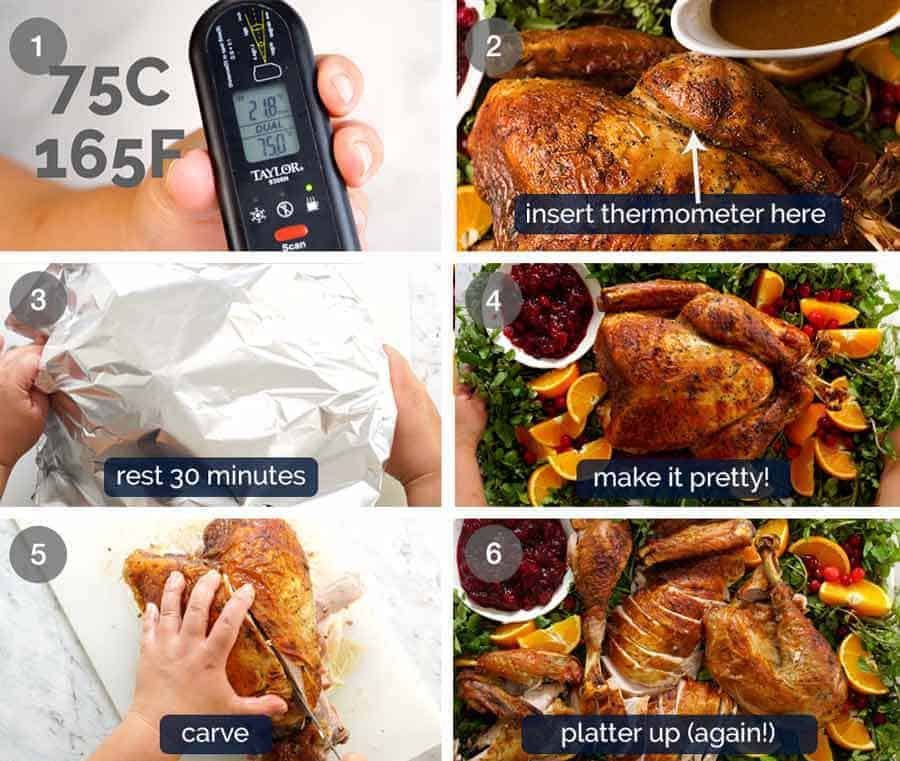
When the internal temperature is reached (see section above), the most important thing to do is to rest the turkey for 30 minutes. This gives the turkey a chance to relax the fibres (ie more tender meat) and even more importantly, the juices get sucked back into the flesh (equals even juicier meat!).
Styling the turkey platter
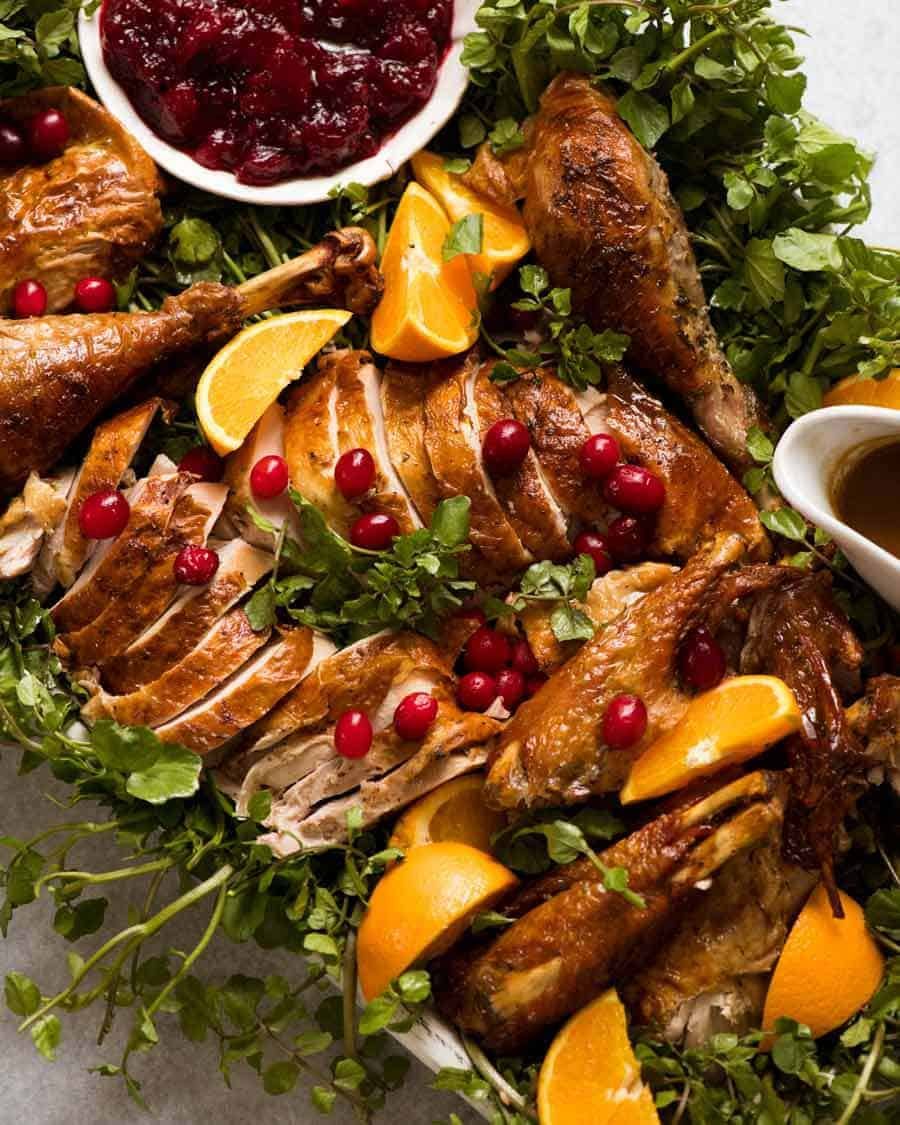
Even if the turkey is only on the platter for a fleeting moment before being whisked away to be carved, I still feel like it’s worth making a wee bit of an effort so the turkey can have it’s moment spotlight.
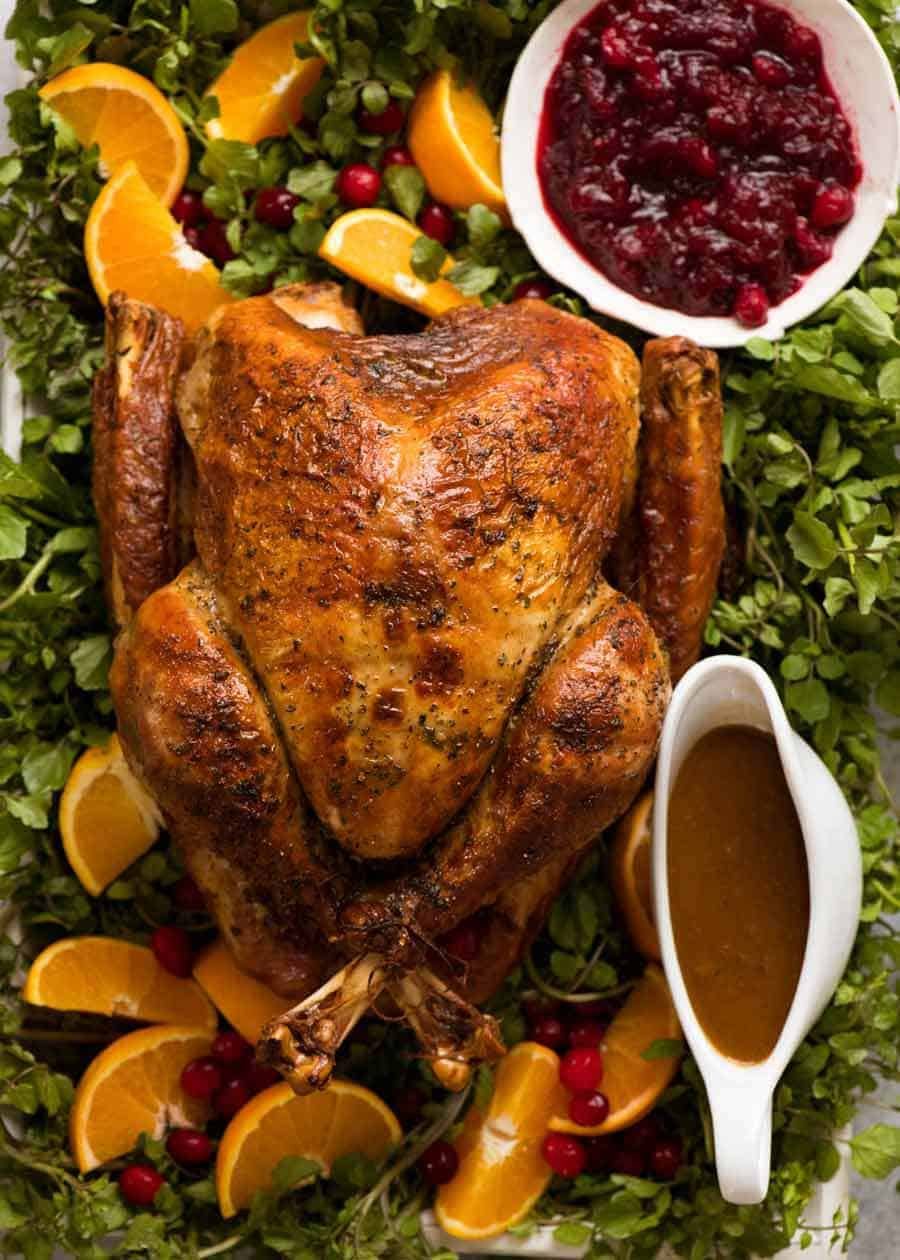
While many opt for herb garnishes, I have a thing about making everything on a platter edible. So I create a bed of green leafage – watercress in this case (cheap, right shape, nice to “fan out” around edges) – with pops of colour from orange wedges (also for those creatures who like fruit with meat) and cranberries (thawed frozen ones).
How to Carve Turkey
I had ambitions to include a video of how to carve turkey, but doing such a video by yourself proved to be somewhat of a challenge. Turkey juice squirting everywhere, greasy hands, the challenge of new cameras and most frustrating, the hot breath of a fur ball under the table panting with excitement at the mere experience of being so close to such a giant hunk of meat.
Said video was a total fail. Will attempt again next year. In the meantime – this video is a good tutorial. 🙂

To Stuff or Not to Stuff?
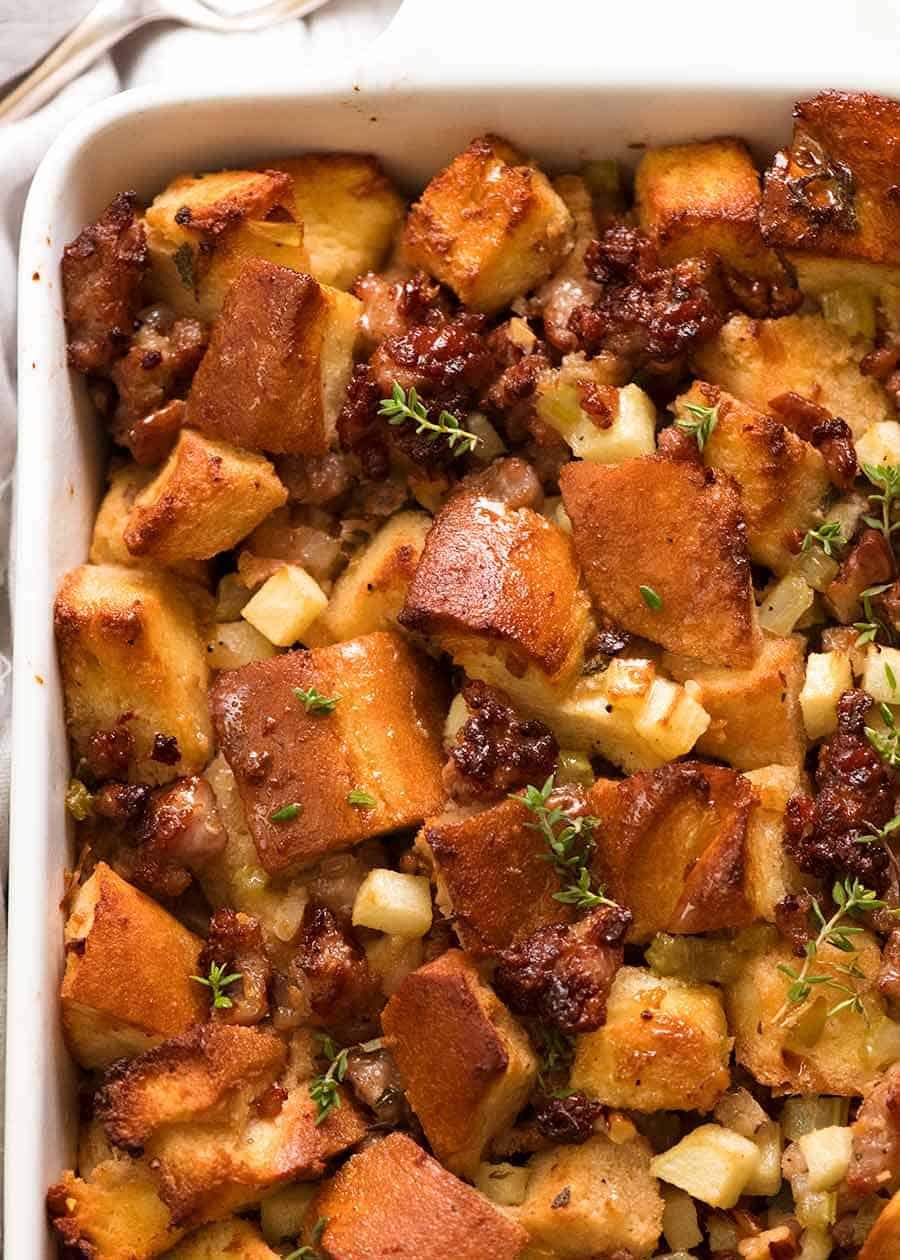
Stuffed turkey = overcooked turkey because in order for the stuffing inside the turkey to reach a safe eating internal temperature of 75C / 165F, the turkey meat around it needs to go to a higher temperature, meaning it is overcooked and dry.
This turkey is not stuffed with stuffing, just with garlic, herbs and a good slosh of melted butter (which does all sorts of good things to the breast when roasted upside down).
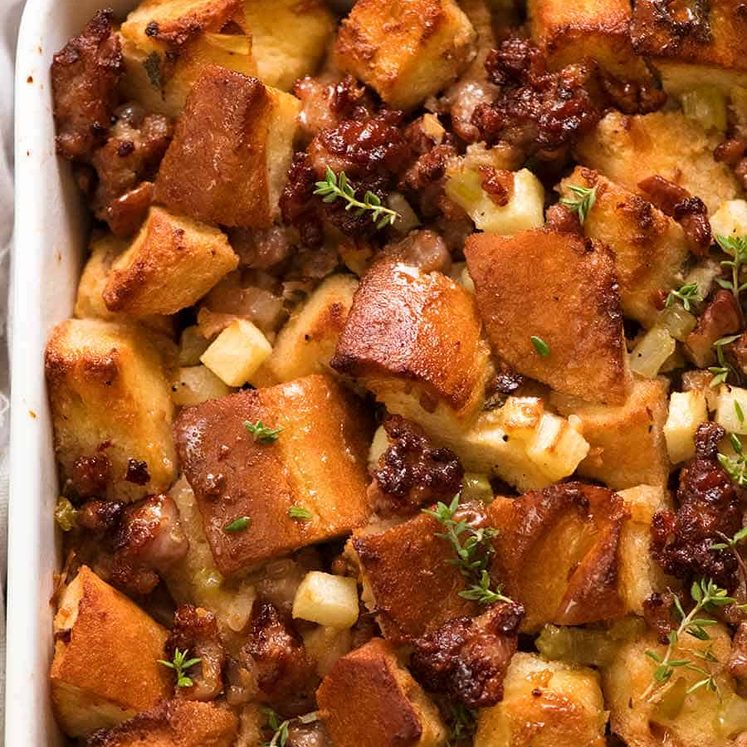
No thanks! Besides, stuffing baked separately SO much more delicious – here’s my all time favourite Stuffing recipe!
Cranberry Sauce or Gravy?
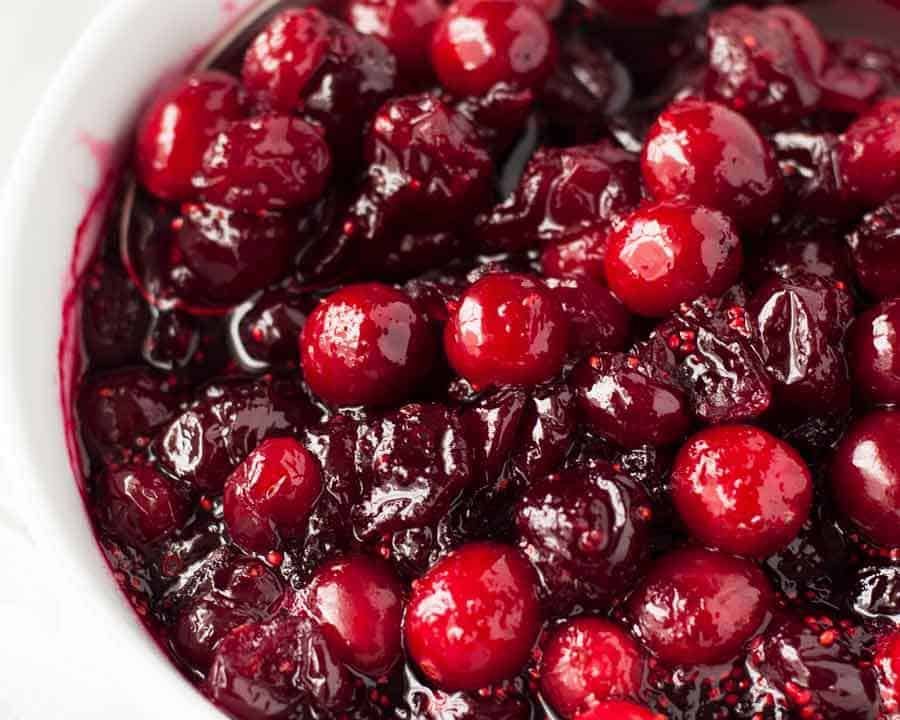
Why choose? Serve BOTH! Cranberry Sauce keeps for ages – make it well in advance.
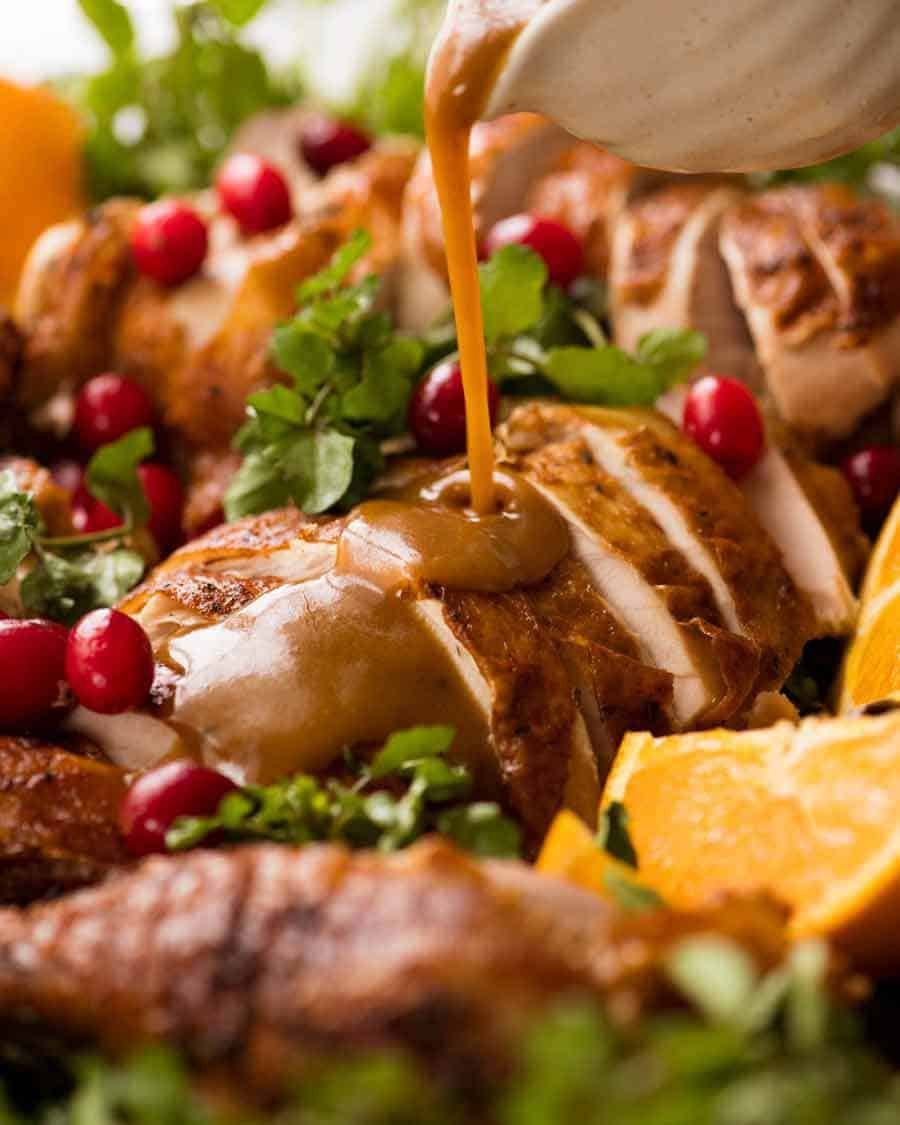
As for gravy…. it’s not an option around these parts. My view is that it’s criminal to to waste those pan juices and NOT make a gravy! So this roast turkey recipe includes gravy!
What to serve with Turkey
A classic centrepiece for holiday occasions like Thanksgiving and Christmas, here are my favourite sides to serve with turkey!
Thanksgiving sides for Turkey
Christmas sides for Turkey
So here’s my recipe for the Juicy Roast Turkey made by dry brining. It is based on this recipe from the LA Times which has a cult following – with good reason! I’ve added extra tips and tricks to help make this a breeze for you.
I have a feeling this Thanksgiving is going to be your BEST EVER!!! – Nagi x
Watch how to make it
Here’s the recipe video for the Juicy Roast Turkey. See below for gravy!
And here’s the video for the turkey gravy:
Hungry for more? Subscribe to my newsletter and follow along on Facebook, Pinterest and Instagram for all of the latest updates.
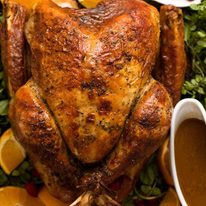
Juicy Roast Turkey
Ingredients
- 10 lb / 5kg whole turkey , thawed (plain not pre brined) (Note 1)
Dry Brine Salt Rub:
- 2 1/2 tbsp kosher salt / cooking salt (Note 2)
- 2 tsp dried thyme , or other herb of choice
- 1 tsp paprika , sweet or ordinary
- 1 tsp garlic powder (optional)
- 1/2 tsp black pepper
For Roasting
- 2 heads of garlic , halved horizontally (ie 4 halves)
- 1 onion , halved – skin on is fine (brown, yellow, white)
- 2 small bunch mixed herbs , sage, rosemary, thyme, parsley (optional, Note 3)
- 10 tbsp (150g) unsalted butter , melted
- 1 tbsp (in total) sage, rosemary and thyme , finely chopped – equal amounts of each (Note 3)
- 3 garlic cloves , minced
- 1 1/2 cups dry white wine , or water (Note 4)
- Salt & pepper
Gravy (~ 4 cups/1L)
- 4 cups chicken broth / stock , low sodium
- 5 tbsp flour , plain / all purpose
- Salt and pepper
Instructions
RECIPE SUMMARY:
- Rub turkey with the Salt Rub, wrap mummy-like in cling wrap. Fridge 48 hrs, flipping halfway. Stuff, roast upside down 30min in hot 220°C/425°F (200°C fan) oven, flip, garlic-herb-butter baste, finish roasting in lower oven 165°C/325°F (150°C fan).
FULL RECIPE
Dry Brining Preparation
- Salt Rub: Mix together the Rub ingredients.
- Prep Turkey: Pat the turkey dry with paper towels, inside and out. Remove giblets or anything else inside the turkey. (Note 5)
- Sprinkle: Sprinkle 1 teaspoon of the Salt Rub inside the turkey and use you hand to spread it (roughly is fine). Turn the turkey upside down, then rub 1 teaspoon of the Salt Rub on the underside.
- Turn the turkey upright and rub the remaining Salt Rub on the turkey, using most on the breast – even some under the skin if you can.
- Wrap turkey mummy-like in lots of cling wrap (works best, I find) or place the turkey in a sealable plastic bag (Note 6).
Brining (Note 7):
- Place turkey upside down in baking pan. Refrigerate 2 days (minimum) up to 3 days (4 days adds nothing, I find).
- 24 hours later: Flip turkey so it's right side up.
- 24 (to 48 hours) later: unwrap turkey. The skin should be moist but not wet. If wet, pat dry. Leave out for 30 min before roasting.
Prepare for roasting:
- Preheat oven to 220°C/425°F (200°C fan-forced)
- Prep for roasting: Place the onions and garlic in a roasting pan. Place a roasting rack on top – if you have one (Note 8 for sub).
- Stuff bunch of herbs + 2 garlic halves + 3 tbsp butter (45g) inside the turkey. Tie drumsticks together with kitchen twine (optional).
- Place turkey UPSIDE DOWN on the rack. Twist the wings so they are on top – see video. Brush with a bit of melted butter. Sprinkle with a tiny bit of salt and pepper.
- Wine – Pour wine in roasting pan.
Roasting:
- Roast for 30 minutes.
- Flip & brush – Use a tea towel to turn the turkey over so it's right side up. Brush with butter, sprinkle with a tiny bit of salt and pepper.
- Turn oven down to 165°C/325°F (150°C fan).
- Roast turkey 45 minutes.
- Garlic herb butter: Mix remaining butter with garlic and herbs. Brush turkey generously with butter.
- Roast turkey for a further 30 minutes or until a) the thermometer that comes with the turkey pops up; or b) a thermometer inserted between the breast and leg reads 165°F/75°C. (Notes 9, 10). Cover loosely with foil if browning too much.
- Rest: Remove turkey onto serving plate, cover loosely with foil and rest for 30 minutes before transferring to platter for presentation and carving (see in post for styling idea).
- Serve turkey with gravy and/or Cranberry Sauce.
Turkey Gravy
- Place roasting pan (with garlic, onion etc still in it) on the stove over medium high heat. Add flour and cook for 2 minutes.
- Add broth and use a potato masher to mash the onion and garlic into the mixture. Use a wooden spoon to scrap the bottom of the pan. Cook for 3 to 5 minutes or until thickened.
- Strain into a bowl, pressing down to extract all the flavour out of the onion and garlic. Transfer to gravy boat.
Recipe Notes:
* Fast thaw in water – 30 minutes per 500g / 1 lb. Turkey needs to be in a leak proof bag / wrapping. Submerge in large sink of water, keep it submerged. Change water every 30 minutes. Rub can be applied to partially thawed turkey as long as skin is pliable enough to rub salt in. I usually apply the rub after the turkey has been thawing in the fridge for 24 hours. Expect lots of juices from the thaw/brining process – ensure turkey is patted dry before roasting. As it brines, liquid may be red from blood from the inside of the turkey thawing – do not worry. Won’t affect end result at all. Do not rinse, just pat dry with paper towels. DO NOT:
* Use this recipe for “self basting” or pre marinated turkeys, will be too salty. Check ingredients or nutrition – if there’s salt or flavourings, the turkey has already been brined. Typically these include boxed and frozen turkeys at the supermarkets in Australia. **See HOW TO COOK PRE-BRINED TURKEY box below recipe.** 2. SALT – Use 1 tbsp salt for every 2 kg / 4 lb turkey. Use kosher / cooking salt. If using fine grain table salt, reduce by 1/4 tsp PER 1 tbsp of salt called for in the recipe. Do not use salt flakes (too hard to measure equivalent). 3. HERBS – I used an equal mix of sage, rosemary and thyme to make up 1 tbsp in total for basting partway through cooking. Can also use dried herbs of choice – use 2 tsp. Doesn’t sound like much but we don’t want to put herbs on the skin until partway though cooking otherwise it just burns. So by the time we baste with the herb butter, there’s not much butter left. Just imparts a subtle fragrance more than anything, could even be skipped. Need one bunch to stuff inside the turkey, the other for the pan. 4. WINE – I use sauvignon blanc, pinot gris (I get discount wine for cooking). Any white wine is fine as long as it’s not too sweet or woody / oaky. 5. Giblets are a parcel of turkey offcuts that are usually stuffed inside the turkey and are used to make the gravy. It usually comprises of: neck, heart and liver. Use the neck and heart for turkey gravy. 6. BAG – you can get resealable bags in America that are big enough for turkey. But I’ve found that cling wrap is the most effective – keeps the brine right up against the turkey skin. 7. BRINE TIME: 48 hours (2 days) is my base recipe, 3 days also great (a bit more seasoned). Even overnight is better than not brining at all! I even did 4 days last year and it not any different to 3 days, from what I could tell. 8. RACK SUB: Need to keep turkey skin elevated out of liquid in pan. Get a long strip of foil, scrunch to make a thick “rope”. Loop to make a circle and secure. Place on top of onion, place turkey on top. Just need something to keep turkey a bit elevated off base of pan and the onion. If skin is in contact with onion when upside down, the skin will brown unevenly once you flip. 9. ROASTING TIME:
- 5kg / 10 lb: 1 hr 45 min – 2 hrs
- 6 kg / 12 lb: 2 hrs 15 min
- 7kg / 14 lb: 2 hrs 30 min
- 8 kg / 16 lb: 2 hrs 45min
How to cook pre-brined turkey
If you went to use this recipe only to realise you have a pre-brined turkey (see Note 1 in recipe), do not use this recipe as the brining will make your turkey too salty. Instead, make this recipe as follows:
- Add better flavour – Make the Herb Garlic Butter in this Roasted Turkey Breast but only use 1/4 of the salt. Scale the recipe to your turkey weight – click on servings and slide until the turkey weight changes to the weight of your turkey. (Yeah, it’ll be a lot of butter! You can scale down if you want 🙂 ). Watch the video to see how I loosen the skin, then slather about 2/3 of the butter under the skin.
- Flip turkey then rub just a bit of butter on the underside sprinkle with salt and pepper,. Roast per this recipe for 30 minutes on higher temp.
- Flip turkey right side up then slather skin with 1/2 of the remaining butter sprinkle with salt and pepper. Roast per this recipe for 45 min, then slather with remaining butter. Roast to finish cooking per this recipe. ,Voila!
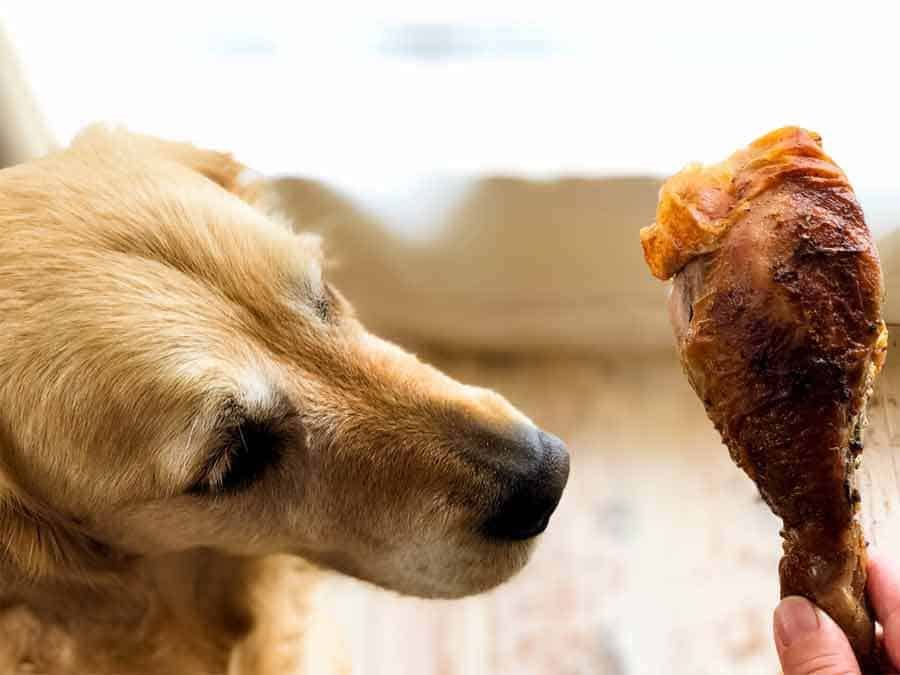
Life of Dozer
That turkey leg is the size of his head!

I usually make small turkeys because no one likes the leftovers. There is sorrow in my house today because the leftovers are gone. This recipe perfectly seasoned the meat all the way through and kept it from being dry!
Nagi, you make us all look like AMAZING cooks. I know that if I cook one of your recipes not only will it wow others but it will work. Thank you, thank you!! This turkey recipe is an absolute hit!! I had a chef at my table and my 67 yr old Mom and both said that this was the best turkey they have EVER tasted. This will be my Forever Turkey recipe.
I haven’t made many turkeys and never brined one, I decided to try it. I only had one day to brine, but this was the moistest turkey ever, with perfectly browned, crispy and seasoned skin. The gravy was good too! Thank you!
OMG, I am 65 years young and this is the first time that I made a turkey. I must say I was a hit. We all loved this recipe and the gravy was to die for. Your recipes have never failed me, giving me the confidence to take on Thanksgiviing dinner!!! Your a an amazing chef. Thank you for sharing your wisdom.
Nagi, Thank you so much for this detailed post! I used this recipe today. The turkey was amazing when it came out of the oven, juicy and delicious. When trying to reheat it later in the day though, it got too dry and was falling apart. I would most definitely use this recipe again and again, but I’ll time it to be ready at mealtime instead of having to reheat it. Thanks for the link on how to carve the turkey also.
Your recipe sounds like a foolproof one for Thanksgiving this year! I assume if I get a bigger turkey than 10oz, I should increase all the ingredients? If I get a 14lb turkey, increase it to almost 1.5x the recipe?
Can’t wait to try it this Thanksgiving! This will be my first time making a whole turkey – do I need to cover it with a roasting pan lid or foil? Or cook uncovered? Sorry if this is an obvious one 😁
I’m trying to save oven room. Will this work in an electric roaster?
Hosted an Xmas in July, and my first attempt at cooking a whole bird. While a long process, dry brining is a winner, as it produced an A-mazing result!
Your website is a rabbit hole! I was looking for one particular recipe and suddenly I’m at dry brined turkey? How did that happen!?
The best Turkey roast I’ve ever cooked. Thank you for the dry rub recipe. Every part of the bird was juicy!
I’ve never cooked turkey before (I’m in Australia and turkey has never really been a thing at Christmas until recently) and this came out so incredibly delicious that I’m now a convert! Using the recipe to cook turkey ‘drumsticks’ as I write 🙂
best turkey ever! thank you
Nagi, I found your website just this year and also purchased your excellent cookbook. I wanted to share that I made your roast turkey recipe this year for Christmas as my husband and I were hosting our extended family of 12. I followed your recipe exactly, making a 13 pound free-range turkey and it turned out great, beautifully browned, juicy and easy to carve. I wasn’t sure about the low oven temperature of 300°F (fan) following the 30 minutes @ 400°F (fan), but the turkey was done in exactly 2 hours, 15 minutes just as your recipe states. Thanks so much for developing and sharing such a wonderful turkey recipe that works!! Merry Christmas and all the best for the New Year/2024!
I made this and boy! It was the best turkey I ever had and all my family and friends absolutely loved it! They also said that it was the best!
I’m using a 9kg bird when you flip to breadt side up would you just cook longer than 30 minutes ?
What does fan mean? As opposed to standard ?
Best turkey ever! Everyone had seconds, even my mum, the hardest critic of all. Followed each step carefully. I’m vegetarian so didn’t get to taste it. They all said it was the juiciest, most tender delicious turkey anyone has ever had at Christmas. Thank you Nagi! xo
Fantastic recipe, saved my family from dry turkey due to waiting for stuffing inside to be cooked, 2 years in a row. It’s still moist the next day which is unheard of for me. Minor note on the recipe is that it wasn’t obvious to me which way was “upside down” (turns out to be breast down, I got it wrong the first time when it was talking about rubbing the dry rub in but right the following two times). The video doesn’t really clear it up obviously at least in the first instance.
Hi Nagi I’ve got to say our turkey was the best ever. I’ve been cooking turkey for 50 years but yours was sensational, was very sceptical about the cooking time. Absolutely delicious everyone raved about it. Thank you and merry Christmas xxx
Excellent!!!